Thinking of upgrading your old two-prong outlets? If your home still has these vintage fixtures, it might be time for a change. Modern three-prong outlets not only look better but also offer important safety features. Sure, you may think hiring an electrician is the only way to go, but if you’ve got some basic skills, this project can be tackled without breaking the bank.
Why upgrade, you ask? Well, the two-prong outlets miss the crucial ground wire, which shields you from electric shock during voltage surges and protects your devices from damage.
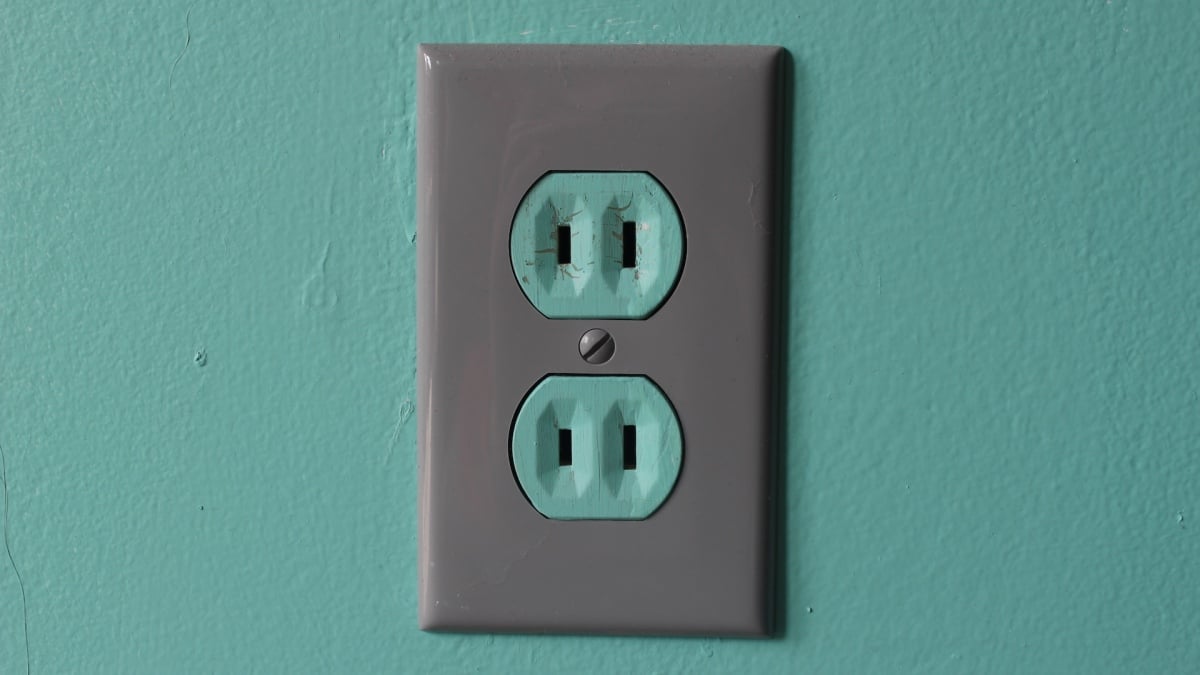
**Here’s what you’ll need:**
– **GFCI Outlets:** Think all outlets are created equal? Think again. You’ll want to swap out those two-prong outlets with GFCI outlets, especially if there isn’t a ground wire. These outlets are smart—they automatically cut off power if there’s a fault, making them ideal for areas prone to moisture, like your kitchen and bathroom. If you have a ground wire, feel free to choose a standard three-prong outlet, but when in doubt, stick with GFCI for safety.
– **Check Amperage:** Ensure that you’re getting the correct amperage for your outlets—most are 15 amps, but some may be 20 amps. A quick look will reveal a horizontal notch on the left side of 20-amp outlets. If uncertain, consult an electrician to avoid any mishaps.
– **Electrical Tape:** Grab a roll of electrical tape to wrap the completed outlet connections—it’s all about that extra layer of protection!
– **Screwdrivers:** You’ll need both flathead and Phillips head screwdrivers for this task.
– **Wire Stripper:** A wire stripper may come in handy if the existing wires need some lengthening.
– **Non-Contact Voltage Tester:** This handy device will confirm whether the outlet is live—definitely a must-have!
**Step 1: Cut the Power**
Before diving in, switch off the power. Find the right breaker in your panel and flip it. Not sure which one it is? Time to do a little detective work first! Once off, double-check with your voltage tester to confirm there’s no current flowing to the outlet.
**Step 2: Remove the Old Outlet**
Now, onto the fun part:
– Take off the faceplate by unscrewing it carefully (scoring around the edges can help avoid wall damage).
– Unscrew the mounting screws at the top and bottom, and gently pull the outlet out of the wall.
– Disconnect the wires by loosening the screws—usually, you’ll see a black (red) and white wire.
**Step 3: Inspect the Wires**
Check for any wear or damage. If they look good and the ends are long enough, you’re set; otherwise, use the wire stripper to prep them.
**Step 4: Install the New Outlet**
Let’s get that new outlet in:
– Attach the wires to the new outlet. Remember, gold for the black (hot) wire, and silver for the white (neutral wire). Tighten those screws to secure them.
– Wrap your outlet with electrical tape for an added layer of safety.
– Push everything back into the wall, secure it with screws, and put the cover plate back on.
**Step 5: Power it Up!**
Time to flip that breaker back on! Test the outlet with your voltage tester, or plug something in to ensure it’s working. If it trips the GFCI immediately, double-check your connections.
Don’t forget to attach the “NO EQUIPMENT GROUND” label to your wall plate. It’s crucial for anyone working on it in the future.
And there you have it! With a little effort and a focus on safety, you’ve upgraded your outlets without the hefty electrician bill. How’s that for a win? ✨⚡️